We often hear: “A picture is worth a thousand words”. And our favourite networks have understood this! A feature (available since 2015 on Instagram and since 2018 on LinkedIn) confirms this trend: the carousel! It allows you to integrate several visuals in a single publication.
You may have discovered the principle of the Linkedin or Instagram carousel at one of your competitors? But do you know how to create it? How to publish it? And how to arouse the curiosity of users to make them want to click? Find out quickly how to use this captivating image vector to your advantage.
Whether it’s photos, videos, or both, the content can be more impactful, more engaging. And the reason is simple: because the user has to click or scan the screen if they want to find out what’s behind the first photo. ?
How to create an Instagram carousel?
What you need to do
At the top of the app, click on the + button next to your account name. Select “Post” Then, in the library: tap the little multi-select icon.

Choose the photos and/or videos you wish to include (up to 10). The order of selection will be the order in which they appear in the Instagram carousel. Touch “Next“.
Here you can apply a general effect to each item, by selecting the filter at the bottom (Clarendon, Gingham, Moon, etc.). This is interesting so that the whole is coherent and that the colourimetry does not differ from one image to another.
But you can also correct the images individually by touching the icon of two interlaced circles present on each one.
By clicking “Next” you can identify people or products, or add a location. This is also where you write your caption before tapping “Share” to publish the carousel.
Bonus : You can schedule Instagram carousels from Swello ?
What you need to know
You can modify your carousel (cropping, changing the square format to landscape…) in the second step, the one offering filters to be applied on the carousel.
There, you have the option to change the order of the images by pressing on one of them for a second and moving it.
You add more with the “+” button to the right of the last image.
When it is a video, you can select the image that will be displayed before playback. Just touch the video in question and select “Cover”. You choose the desired image by slowly scrolling the movie.
Note that you can also turn off the sound on the video, by touching the speaker icon above it.
Note that once published, the carousel can no longer be modified.
And, above all: the first image is crucial to attract the visitor’s curiosity. He must want to see the following visuals, so take good care of it. ?

How to create a carousel on LinkedIn?What to do
To create a carousel on LinkedIn, it is done completely differently. In fact, you have to use the publication of documents.
Your first action, therefore: create a file in PDF format. Each page of your PDF should represent a visual of your carousel.
Click on “Start a post” on the home page of the social network (to post under your name), or on your company page (to post on it).
In the pop-up, fill in the comment of the post (with some hashtags) and then click the “Document” icon.

There, select the PDF file before publishing. It will be presented in carousel format, scrolling through each page of the PDF file.
What you need to know
Like any self-respecting algorithm, LinkedIn’s algorithm evolves regularly. Recently, it has integrated the notion of time spent on a publication. When the user acts on your carousel (1 click or 1 slide), the algo detects this action as a proof of interest. ?
And that’s good for your visibility!
Not all professionals on LinkedIn use the carousel. Take advantage of it to stand out by offering creative and surprising content!
How to make the most of your carousel?
What makes people want to linger on a publication rather than another is the emotion they feel when they look at it. Whether it’s surprise, admiration, laughter, curiosity… There’s a whole range of emotions you can play with to make your carousel a success!
Here are a few themes to help you.
01. The event
Have you participated in or organised a trade fair in your sector of activity? Have you set up a project that was close to your heart?
By exhibiting the most intense moments of these experiences, you allow Internet users to share this experience with you. Without inundating them with numerous publications on the same subject.
02. The “before and after” technique
We all know this technique! The themes of the photos can be very varied, and therefore adapted to your activity. The result is always amazing! ?
03. The choice
Ideal for prompting action! For example, ask users to help you choose between what each of your visuals represents. A new colour, a new destination… One objective: involve them to engage them. ?
04. The questioning
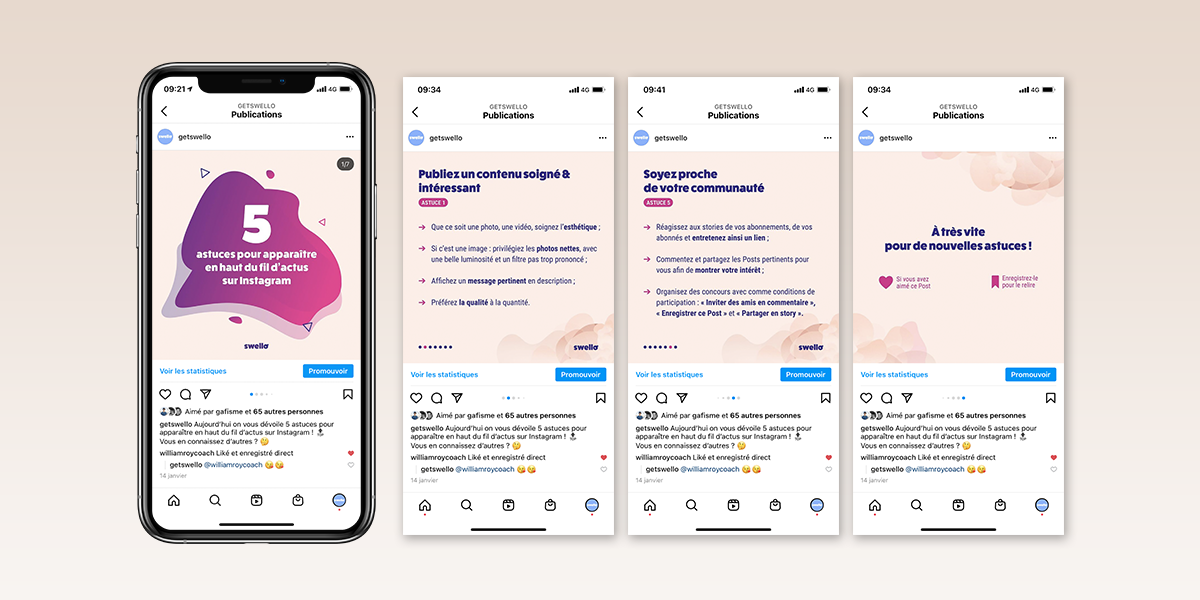
A major trend in carousels: one (or more) piece(s) of advice spread over each part of the carousel, answering a question on the first image.
Often this is done with a graphic universe that plays on continuity. Each image is aesthetically pleasing on its own. But if you put them side by side, you get a long illustrated banner.
05. The tutorial
Being able to visualise a demonstration or a skill is more exciting than reading a list of instructions. A series of short instructional videos is perfect for this purpose.
But you can also do it in a graphic form, with simple, numbered steps represented on each image of the carousel.
06. The new product
To make your product the star of your publication, present it in different situations, in different settings.
Tip: present some images as zooms of the first one, to show the details of the product on display.

07. Customer reviews
It is your customers who speak best about you. By exposing their opinions on your brand, on your products, they give confidence to your future buyers. ?
08. The story
Storytellers know: the best messages come from a good story. You can use the carousel for storytelling:
- around your brand,
- a customer journey,
- a service offer,
- a product creation…
Each visual advances the story. The conclusion should be surprising and the first image very eye-catching to make you want to know the answer.
Conclusion on the carousel
To qualify what you may have read or learned in training courses for community managers on Instagram carousels, that it increases the rate of engagement of your posts, note that there is no magic! If the first image does not attract attention and does not encourage people to consult the next one, the results will remain disappointing.
The strength of the carousel lies mainly in this retention effect of the user, who will consult the different pages of it, not necessarily a real highlight by Instagram.
On the other hand, LinkedIn’s algorithm likes document publications, as it is a generally richer medium than a classic post. So you will certainly have a little more chance of hooking the first contacts.
So now you know the secrets of the carousel and how to make good use of it! Don’t hesitate to write in the comments your personal recommendations on this format!

